Sew Your Own Clothes: A Beginner’s Path to Less Waste
You can sew your own clothes without turning your home into a studio, and without buying piles of kit. A few basic stitches, a simple pattern (or none at all), and some second-hand natural fabric will get you moving.
The rewards are practical. Clothes fit better when you can tweak them, money goes further when you mend first, and waste drops when you re-use what already exists. There’s also the quiet pride of wearing something you made.
Where you can, choose organic cotton thread and organic cotton fabric. If you do sew with polyester, wash the finished item using a microfibre filter. Also keep needles, pins, and small tools well away from children and pets.
You can sew your own clothes without turning your home into a studio, and without buying piles of kit. A few basic stitches, a simple pattern (or none at all), and some second-hand natural fabric will get you moving.
The rewards are practical. Clothes fit better when you can tweak them, money goes further when you mend first, and waste drops when you re-use what already exists. There’s also the quiet pride of wearing something you made, even if it’s ‘just’ a hem that finally sits right.
A simple beginner sewing kit you will use
Start with tools that do one job well. Cheap scissors that chew fabric will slow you down more than anything.
Keep your kit small and functional:
- Fabric scissors: Use them for fabric only
- Pins or clips: (for light cotton), clips for thicker layers
- Hand needles: A small pack of “sharps” works for woven fabrics.
- Thread: All-purpose cotton thread suits most makes
- Seam ripper: You’ll use it often, that’s normal.
- Tape measure: Flexible, not a rigid ruler.
- Chalk or washable pen: Test marks on scraps first.
- Iron and ironing board: Press after each seam, not only at the end.
- A few spare buttons: Basic shirt buttons cover most fixes
For needles and thread, keep it simple. Use a standard needle and all-purpose thread for woven cotton and linen. For stretchy knits, choose a ballpoint needle if you’re using a machine, because it slides between fibres instead of punching them.
Pick good upcycled fabrics at thrift shops
Thrifted fabric can feel like treasure or like a mistake, depending on what you choose. Natural fibres tend to behave well for beginners because they press cleanly and don’t slide around as much. Cotton, linen, and hemp blends also breathe well, which matters once you start making clothes you’ll wear all day.
When you’re in a charity shop, do a quick check before you fall for the print.
Look for:
- stains (especially underarms and collars)
- thinning and shine on seats, knees, and elbows
- worn seams and stretched-out necklines
- fabric that twists or looks uneven when you hold it up
A good trick is to hold fabric up to the light. If it looks patchy or see-through in odd places, it may be close to the end of its life.
Beginner-friendly items to cut up include men’s cotton shirts, duvet covers, big skirts, and sometimes curtains. With curtains, trust your hands. If it feels stiff or scratchy, it’ll probably feel worse as clothing.
Wash and dry everything before you cut. Many natural fabrics shrink, and it’s better to find that out early.
Hand sewing stitches that do most work
Most hand sewing comes down to five stitches, used in different places. If you can do these, you can repair seams, hem trousers, and even sew simple garments.
- Running stitch: Quick tacking, light gathers, temporary holds.
- Backstitch: Strong seams for repairs, like a split underarm.
- Whip stitch (or overcast): Neatening raw edges, stopping frays.
- Slip stitch: Invisible hems on skirts and trousers.
- Secure knot and thread finish: Stops from unravelling in thew wash.
Puckering usually comes from pulling the thread too tight. Aim for even stitches, then let the thread sit in the fabric rather than biting into it. Also, press the area afterwards.
Threading and setting up a sewing machine
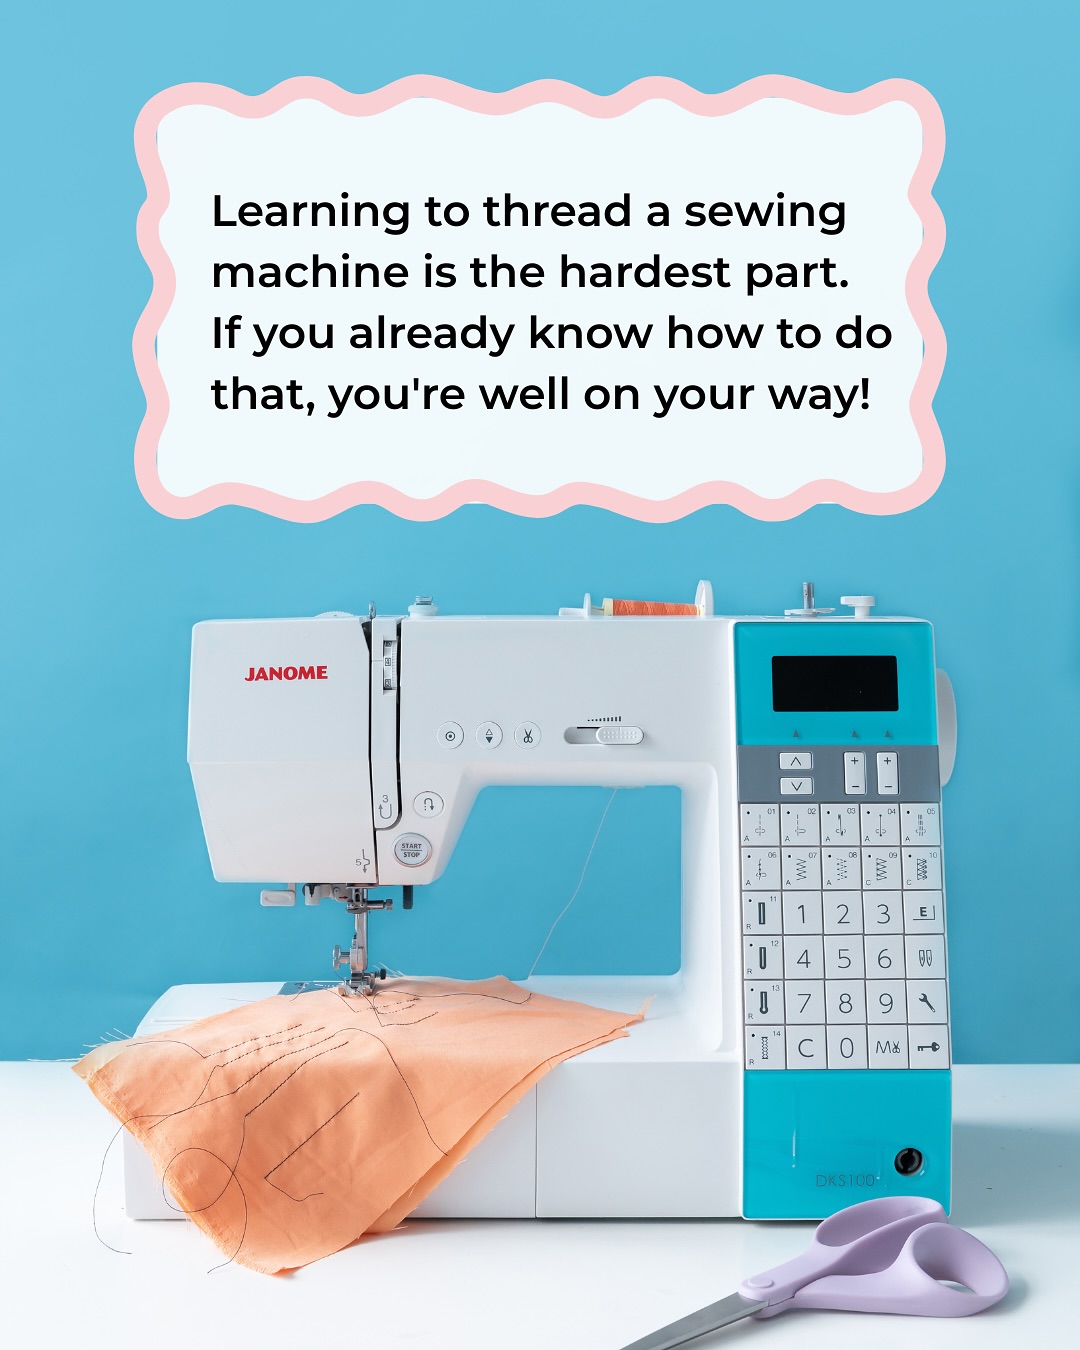
A calm set-up flow helps:
- Wind the bobbin slowly and evenly.
- Insert the bobbin the right way round (check manual).
- Raise the presser foot before threading the top thread.
- Thread machine, following the guides in order.
- Hold top thread, then turn the hand wheel to pull up bobbin thread.
- Sew a test line on scrap fabric.
For settings, you only need a few:
- Straight stitch for most seams and hems
- Stitch length around 2.5 to 3 for woven cotton
- Reverse stitch at the start and end to lock seams
- Seam allowance guide (use the markings on the plate)
If stitches skip, change the needle. If tension looks odd, test on scrap and adjust in small steps. Also, clean lint from the bobbin area now and then, because fluff builds up faster than it should.
How to measure yourself (or someone else)
Take ten extra minutes and write everything down. The key measurements are:
- bust or chest
- waist
- hips
- shoulder width
- back length (nape to waist)
- sleeve length
- inseam
- desired garment length (for skirts, trousers, tops)
Measure over close-fitting clothes, keep the tape level, and don’t suck in. For someone else, ask them to stand naturally and relax their arms. Woven fabric doesn’t stretch, so you need a bit of extra room. A loose shirt needs more ease than a fitted top.
Simple patterns and no-pattern methods
Good first patterns include an elastic-waist skirt, a simple top with minimal shaping, and pyjama shorts. A tote bag is also useful practice, because it lets you learn straight lines and pressing without worrying about fit.
If you want to go pattern-free, you’ve still got options:
Trace a well-fitting T-shirt onto paper, then add a little extra width for woven fabric. Use rectangles and gentle triangles for skirts and basic tops. You can copy an existing garment by laying it flat and drawing around it, then smoothing the lines.
Don’t cut up the original if you still wear it. Make a paper template first, then adjust in small steps.
Learn repair skills, then move to upcycling
Repairs are the fastest way to build confidence. They’re small, they’re useful, and teach you how clothes are put together. After that, upcycling makes sense, because you’re no longer guessing how seams, hems, and closures work. Start with repairs that show results quickly:
A popped seam is a perfect first job. Turn the garment inside out, line up the seam, and pin. Sew with a backstitch by hand, or a straight stitch on a machine. Then reinforce 2 cm past the split at each end.
Hemming is next. For hand sewing, fold, press, then use a slip stitch for an invisible finish. With a machine, press the fold, pin, and stitch close to the inner edge.
Darning socks sounds old-fashioned, yet it’s simple once you see it as weaving. Stretch the hole over something firm (a darning mushroom helps, but a light bulb in a sock works too). Sew parallel stitches across the hole, then weave thread over and under to rebuild the fabric.
Buttons are a skill you’ll use forever. For a flat button, sew through the holes and wrap the thread under the button a few times to create a little “neck”. For a shank button, stitch through the shank and secure tightly on the back.
Before any repair, do a tiny prep routine: press the area, pin it neatly, match the thread colour as closely as you can, and test on scrap if you’re using a machine. Keep your seam ripper nearby, because unpicking is part of sewing, not a failure.
Turn old favourites into something new!
Upcycling works best when you keep the original structure. Button plackets, waistbands, and hems are already well-made, so re-using them saves time and improves the finish.
Two beginner-friendly transformations tend to go well:
First, turn a men’s shirt into a simple top. Try it on inside out, then pin where you want shape. You can crop it, adjust the shoulders, and add small darts or gathers for a softer fit. Keep the button placket, because it’s already stable and straight. After sewing, press new seams and try it on again before trimming allowances.
Second, turn a long skirt into a mini-skirt. Put it on and mark the length with chalk, then take it off and measure from the floor up so the mark stays even. Cut with a little extra for the hem, then press the fold and re-hem. If there’s a lining, shorten it too, or it’ll peek out.
Conclusion
Sewing your own clothes doesn’t need to start with a full wardrobe. Begin with a small tool kit and thrifted natural fabric, learn a few strong stitches or a calm machine set-up, then measure carefully for fit. Repairs come next, and after that, upcycling starts to feel straightforward.
Pick one small project this week, a hem, a button, or an elastic-waist skirt. Go slowly, press as you go, and let neatness beat speed. Choose a thrifted cotton item, do one repair, and keep the scraps for practice, that’s how confidence builds.