Ditch Fast Fashion: How to Sew Your Own Clothes
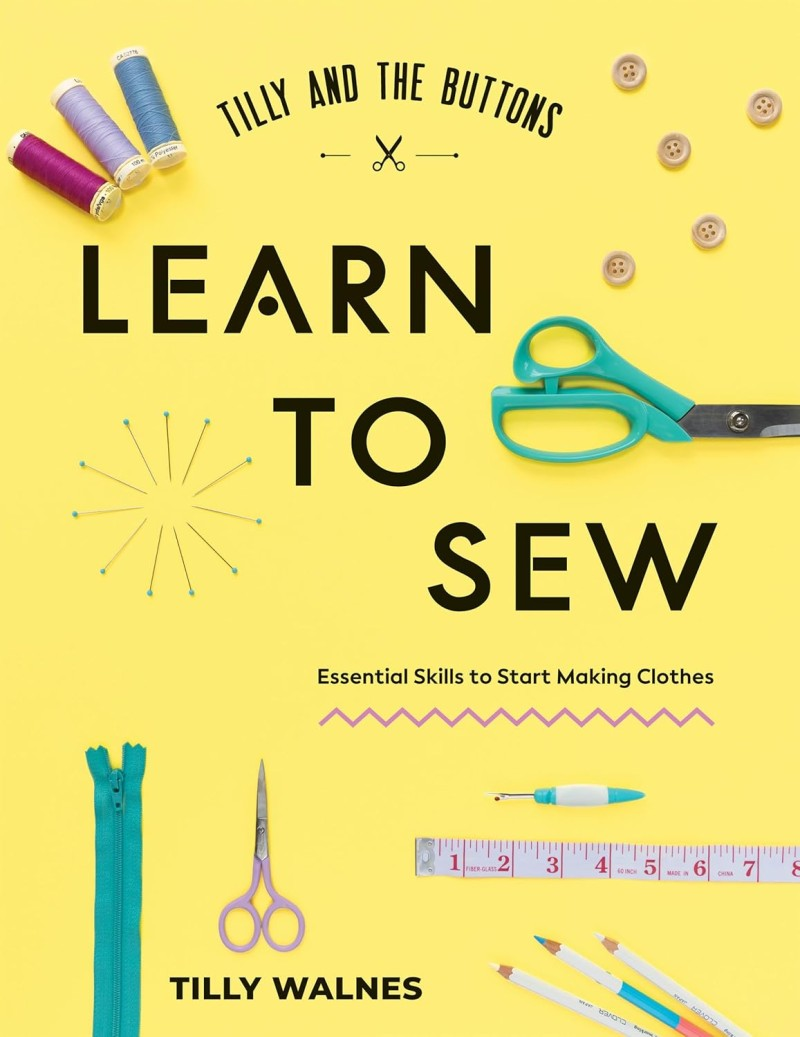
Learn to Sew is the ultimate guide to learning to make your own clothes. All you need is some fabric, a beginner’s sewing kit, and a corner of the kitchen table.
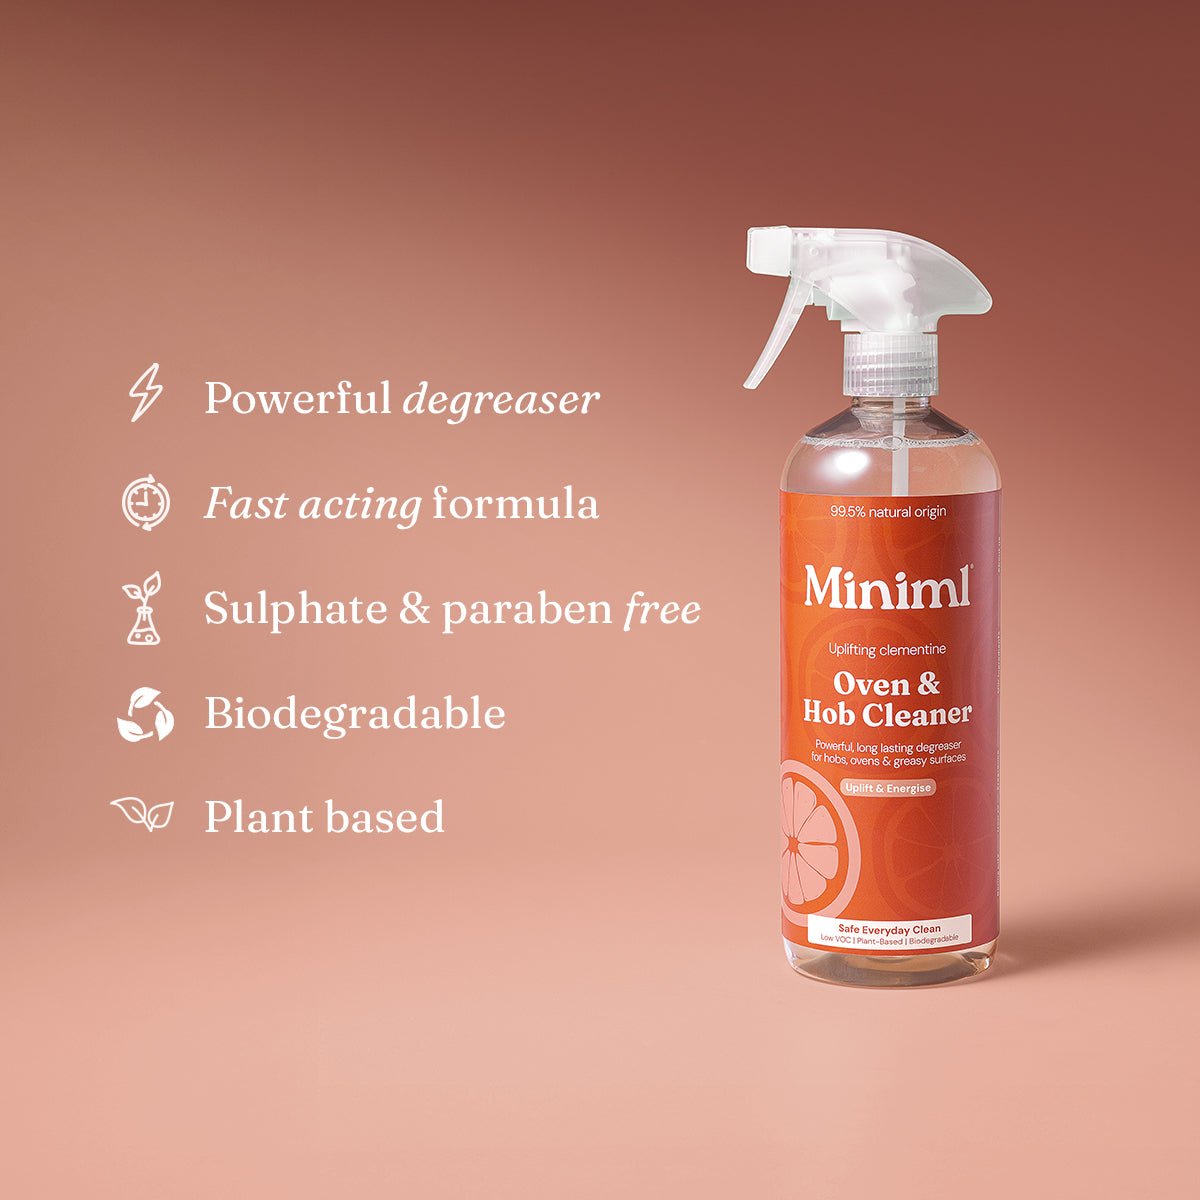
Choose organic cotton thread and organic cotton fabric. If you sew with polyester, wash finished items in a microfiber filter. Also keep needles, pins, buttons and small tools away from children and pets.
A Beginner Sewing Kit (decent scissors matter!)
- Fabric scissors (fabric only): Paper blunts blades fast, then cutting gets jagged=.
- Pins or clips: Pins suit woven cotton and linen. Clips can be easier on thicker seams.
- Hand needles: Choose sharps that pierce clean, for woven fabric.
- All-purpose organic cotton thread: It behaves well, and it presses neatly.
- Seam ripper: Unpicking is part of sewing, not a sign you’ve failed.
- Flexible tape measure: Useful for bodies and garments.
- Chalk or washable pen: Test marks on a scrap first, especially on pale cotton.
- Iron and board (or folded towel): Pressing is half the finish.
- Spare buttons: Keep a small stash.
For storage, a biscuit tin or a zip pouch is enough.
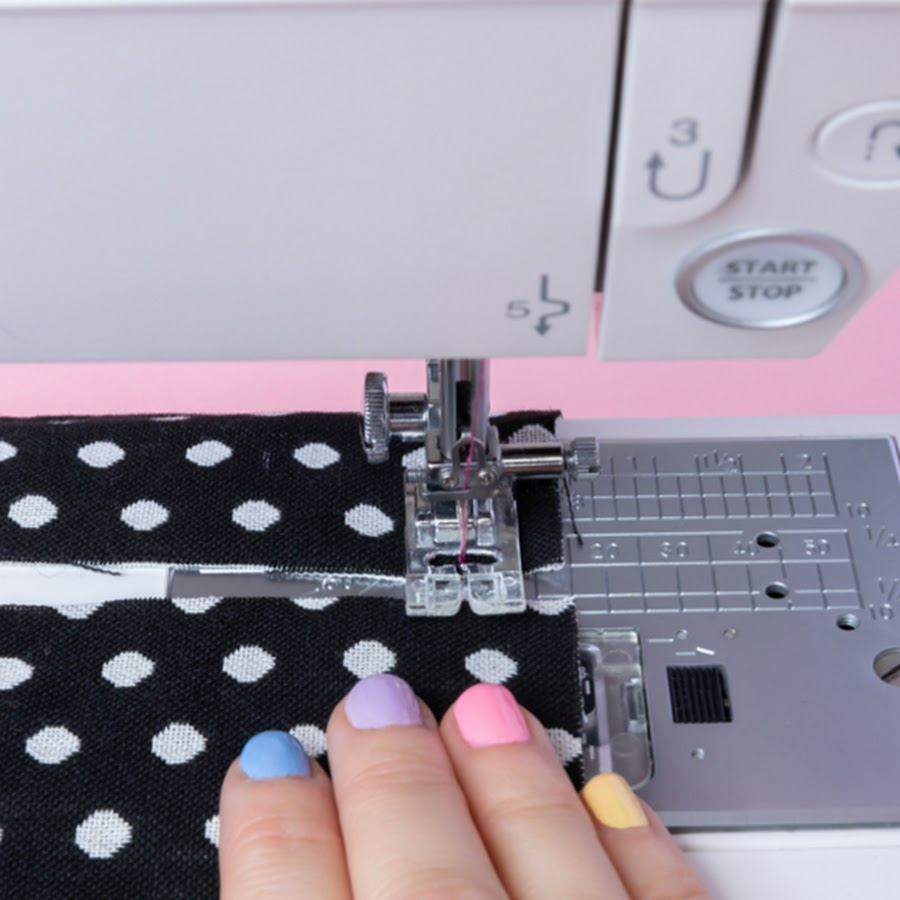
Hand or Machine Sewing?
Hand sewing is quiet and precise. It’s ideal for repairs, hems, and small changes. A machine helps when seams are long, and for speed.
- Wind the bobbin evenly, not too fast.
- Insert the bobbin the right way, then pull the thread into its slot.
- Put the presser foot up before threading the top thread.
- Follow the threading guides, then thread the needle.
- Pull up the bobbin thread, then run both threads under the foot.
- Sew a test line on scrap fabric before touching your garment.
Keep settings basic. Use a straight stitch, stitch length 2.5 to 3 for woven cotton, and reverse stitch at the start and end to lock. Follow the seam allowance guides on the needle plate.
If stitches skip, change the needle first. If tension looks odd, adjust in small steps. Also, clean lint around the bobbin area now and then. It’s boring, but it fixes a lot.
Low-Waste Materials for Beginners
Fabric choice can make sewing feel easy or impossible. Beginners often blame themselves, when it’s really the cloth. Slippery synthetics slide, stretch, and pucker. Stable natural fibres tend to sit still under the needle.
- A charity shop scan can be done in a minute. First, check stains in obvious spots, like underarms and collars. Next, look for thinning or shine at seats and knees. Those shiny patches can mean the fibres are worn flat.
- Then do the hold-to-light test. Lift the fabric and see if any areas look patchy or weak. Also watch for twisting when you hold it up. If the cloth spirals, it may never hang straight again.
- Men’s cotton shirts give you stable fabric and useful details like plackets. Duvet covers offer big panels for learning. Large skirts can provide generous yardage too. Curtains sometimes work, but trust your hands. If it feels stiff or scratchy, it’ll feel worse as clothing.
Pick Fibres that Press & Wear Well
- Cotton, linen, and hemp blends are good teachers. They hold a crease, they behave under scissors, and they breathe well when worn.
- Pre-wash everything before cutting. Natural fibres often shrink, sometimes more than you’d expect. Washing and drying first means the finished item won’t change size later.
- Pressing also matters more than people say. Think of the iron as part of sewing, not an extra. A quick press after each seam makes the whole piece look cleaner, and it keeps your stitching accurate.
Stitches That Do Most Work
- Running stitch helps with quick tacking and light gathers. Backstitch is strong, so it’s great for repairs that get pulled. Whip stitch (or overcast) neatens raw edges and slows fraying. Slip stitch hides hems from the outside. Finally, a secure knot and a neat thread finish stop your work unravelling later.
- Puckering usually comes from pulling the thread too tight. Aim for even stitches, then press the seam flat.
- If you use a machine on knit fabric, swap to a ballpoint needle. It slides between fibres instead of punching through them.
Mend Something You (or upcycle!)
- For a popped seam, turn the item inside out, align edges, then pin. Sew with backstitch by hand, or a straight stitch on the machine. Reinforce about 2 cm past the split at both ends.
- Hemming is another good first win. Fold once, then fold again, press, and stitch. Slip stitch gives a nearly invisible hand hem. A machine stitch close to the edge works too, especially on casual clothes.
- Buttons are small but satisfying. For flat buttons, leave a tiny thread neck so the fabric can sit under the button. For shank buttons, stitch firmly through the shank, then secure on the underside.
- If socks need help, a basic darn is just weaving threads over a firm shape, building a new patch where the old one thinned.
Next, upcycle, but keep the original structure where you can. Plackets, waistbands, and existing hems save time and reduce waste.
- A men’s shirt can become a simple top by trying it on inside out, pinning the shape at the sides, and cropping if you want. Keep the button placket, press, re-try, then trim only when you’re sure.
- A long skirt can become a mini-skirt by marking with chalk, cutting, pressing and re-hemming (also shorten the lining).
- Measure for fit in a calm way: bust or chest, waist, hips, shoulder width, back length, sleeve length, inseam, and desired length.
- Measure over close-fitting clothes, keep the tape level, stand naturally, and allow a little ease for woven fabric.
Where to Buy Organic Cotton Fabrics
Clothing made from organic cotton is less likely to cause skin irritation or allergies. Since it skips harsh chemicals and toxic dyes, organic cotton fabric feels softer and more natural on the skin. This makes it a favourite for baby clothes, underwear, and bedding, especially for those with sensitive skin.
Organic cotton fibres are harvested by hand and processed gently, keeping them stronger and less likely to break. Without chemical treatments, the fibres keep their natural shape, which helps clothes last longer and look better wash after wash. Garments often hold their shape, colour, and softness much longer than regular cotton.
Cotton is known for its thirst, but organic farming often relies on rainwater and better soil health to cut down on water use. Without synthetic fertilisers and intense irrigation, growing organic cotton saves precious water, making it a better choice in areas that face drought and water shortages.
- Ray Stitch is a well-loved fabric shop in London. Their curated collection means every piece of organic cotton they stock has been chosen with purpose, from versatile plain cottons to stylish prints and canvas weights.
- Fabworks is a good place to buy linen fabric, buy by the metre for more affordability. It also offers its own house linen, which is dyed fabrics from overstock.
- Organic Textile Company has built a strong reputation for ethical sourcing and quality. They carry a large stock of GOTS-certified organic cotton, with options like jersey, twill, denim, and muslin. Also buy organic cotton thread
- Sew Me Sunshine offers a diverse selection of organic cotton, from plain muslins to vibrant patterns. Their prices are fair, and they post to the UK and abroad. The shop’s focus on transparency means you can check certifications quickly.
- My Fabrics is a larger retailer with a special section for organic cotton. You’ll find a good mix of plains, patterns, and baby-friendly textiles at prices that often surprise first-time shoppers.
How to Alter and Mend Your Clothes
Taking care of your own clothes saves money, cuts down on waste and keeps favourites in rotation for longer. Mending and altering can sound daunting, but you don’t need fancy skills or a sewing machine to get started.
Most repairs and changes can be done with a needle, thread and a bit of patience. Here’s a step-by-step guide to help you look after your clothes and get more wear out of everything you own.
Only buy used clothing from charity shops that don’t test on animals. Also read our post on removing stains, naturally.
Every home wardrobe fix starts with the right tools. At minimum, you’ll need needles, thread in different colours, scissors, pins, a tape measure, and a seam ripper.
A small sewing kit covers most repairs, but you can add extras like a thimble or tailor’s chalk as you go. Sturdy tools make your work faster and easier, so choose ones that feel comfortable in your hands.
Repair What You Wear has free online guides to help mend tears, replace zippers, darn holes in socks, patch elbows on jumpers and sew on missing buttons.
Steamery Sewing Kit is sold in a roll case and contains scissors, a seam ripper, fabric pen and threads, sewing pins and needles, safety pins, a metal thimble, measuring tape, quick patches, buttons and a needle threader.
Fixing Loose Buttons
A loose button is one of the simplest repairs to tackle. Keep spare buttons that come with new clothes, and use a needle and matching thread to reattach any that look like they’ll fall off.
Thread your needle, knot the end and sew through the holes several times, making sure the button sits tight but has a little wiggle room for fastening. Finish with a knot on the inside, then snip off any extra thread. With a few minutes’ work, your shirt or coat goes right back into service.
Keep loose buttons away from children and pets.
Repairing Small Holes and Tears
Small holes in jumpers, tees or socks don’t need to mean the end. For knits, use a darning needle and matching yarn to weave across the gap, pulling the edges together. In woven fabrics, turn the item inside out, pinch the hole closed and stitch along the edge with a whipstitch or backstitch.
The key is to use short, close stitches, pulling gently so you don’t gather the fabric. This method works best if you catch holes before they spread.
Adjusting Trouser Hems
If trousers are too long and drag on the ground, they’ll wear out quickly. To shorten them, fold the hem up inside to the right length, pin in place and try them on to check. Then press with an iron, remove the pins and sew a straight line with a needle and matching thread, about half a centimetre from the new edge.
Double-stitch at the sides for strength. For a temporary fix, fabric tape or iron-on adhesive strips work well, though sewing lasts longer.
Taking in or Letting Out Seams
If a shirt or dress feels a bit too baggy, you can take it in to improve the fit. Turn the garment inside out, put it on and pin along the seams where you want it smaller. Mark the new seam with chalk or fabric marker, then sew along this line.
For letting out clothes, unpick the old seam carefully with a seam ripper and see how much extra fabric is available. The extra room can make something comfortable again, especially around the waist or hips.
Patching Knees and Elbows
Knees and elbows see a lot of wear, especially on kids’ clothes or work shirts. Use fabric patches, which you can buy or cut from old clothes, to cover up worn areas. For jeans or heavier materials, iron-on patches are quick and strong.
For lighter fabrics, sew the patch over the hole with a zigzag stitch by hand, making sure to catch all the edges so the patch doesn’t curl up. Choose a patch in a matching colour for a subtle look, or go bold with a contrast.
Replacing Broken Zips
A broken zip can make a jacket or jeans unwearable. Buy a replacement zip of the same length and colour. Remove the old one by carefully unpicking the seam. Pin the new zip in place, checking it sits straight, then hand-sew or use a sewing machine to attach one side at a time.
Take care to keep your stitches close to the zip teeth but don’t sew over them. Strong thread works best to hold it all together.
Tightening Loose Waistbands
Jeans, skirts or trousers with loose waistbands can often be saved. For elastic waistbands, check if the elastic is stretched out or just loose in the casing.
If stretched, replace with new elastic by cutting a small hole inside the waistband, threading in new elastic with a safety pin, then sewing the ends together and closing the gap. For fixed waistbands, you might need to sew a dart (a small tucked fold) at the back to pull in extra fabric.
Shortening Sleeves
Jumper or shirt sleeves that are too long can be a nuisance. To shorten, put on the item and fold the sleeves to the right length, then pin. Remove and use a ruler to check the hem is even, then cut off the extra fabric, leaving a centimetre or so.
Fold the raw edge under, pin and sew with small, even stitches. For jackets or anything lined, you might want to take it to a professional, but most casual tops are easy to alter at home.
Rescuing Stretched Necklines
Tops with stretched necklines don’t sit right and might slip off the shoulder. To tighten, thread a thin elastic through the inside of the neckband, using a safety pin to pull it around. Secure the elastic with a few stitches at the end.
This trick works well on T-shirts, jumpers and dresses and helps keep the shape for many more wears.
Refreshing Popped Seams
Seams can split open from wear or strain, but you can fix them with a few minutes and some thread. Press the seam flat, turn the garment inside out and sew just beside the original stitching, overlapping slightly at each end for strength.
Use a strong thread in a matching colour. Backstitch gives the best hold, especially on side seams or underarms.